This is a simple guide to show how to install and configure the Impulse Blocker Extension. An extension to Block distracting websites when you are browsing the web.
You can install the extension from here like any other Firefox extension. After installation you can follow this guide to add websites you wish not to visit.
After successfully installing the extension, you will see a popup appear in the toolbar. It will have a cog icon on the top right corner. By clicking that cog, you can navigate to the options page.

In the options page, you can add whatever website you want to block using input box on top right. You can omit the http:// as the extension handles it. You can also omit .com as the extension will add it as a default. Also if you add example.com, www.example.com will also be blocked, so you don’t have to manually add www subdomains.

After listing the domains you don’t want to visit, you can enjoy browsing. Also you can add websites to block right from the toolbar popup. That way, you don’t have to go to the settings page every time you want to add or remove a website to the blacklist.

You can also pause the extension for the desired amount of time from here. During the paused time, you will be able to visit all the blocked websites. Please note that if you close the browser, pause will be cancelled.
You can also toggle the extension on or off right from the toolbar. This behavior is saved to the storage, so even if you restart the browser extension, it will remember the last on/off status. If you leave it off, it’ll continue to be off.
Since it is very is very easy to turn it off, there is a setting in the options page that allows you to remove on/off buttons from this toolbar popup.
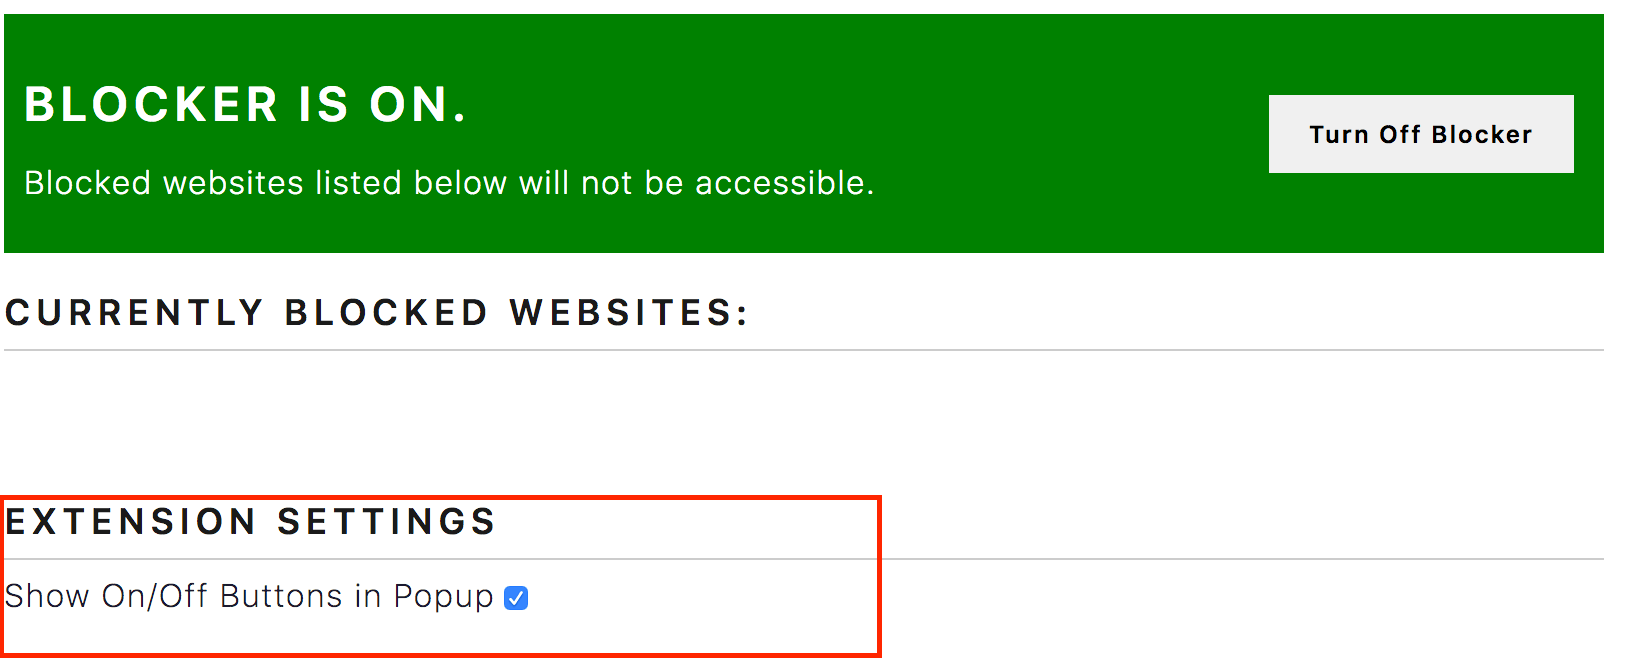
By unchecking this option you can remove the on/off button. Of course you can always turn off/on the extension in this options page.